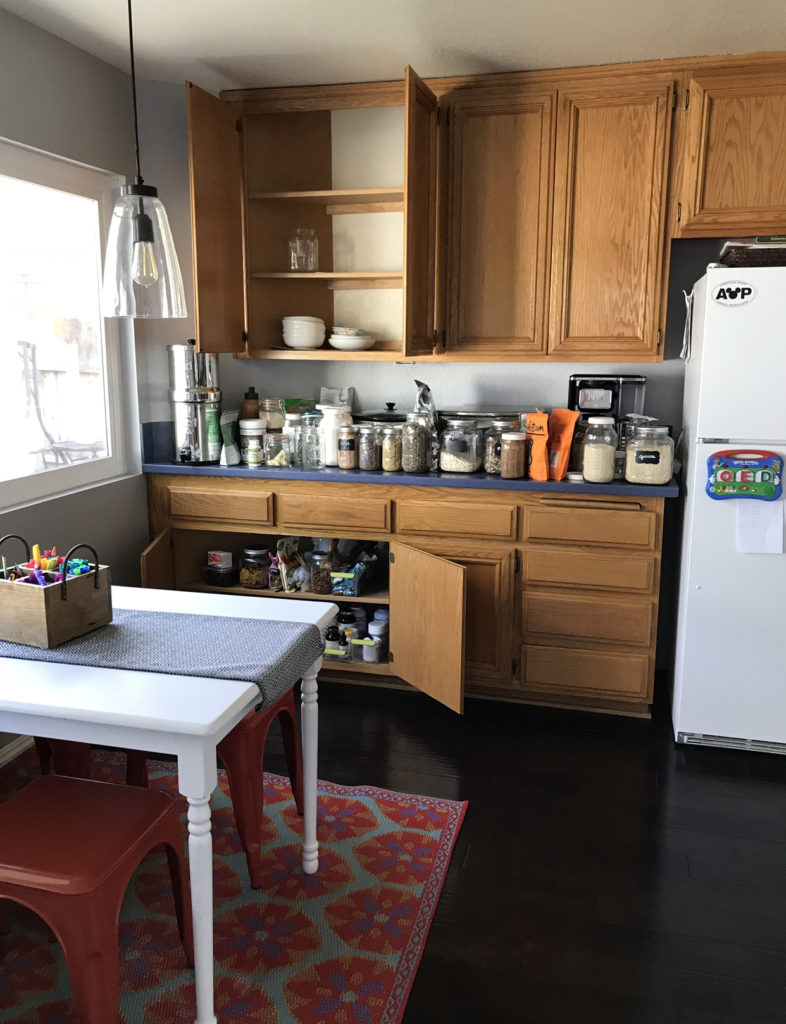
I’m a little embarrassed at how long it’s taken us to do this kitchen renovation. And to be perfectly honest, it’s not even entirely finished. I still have to paint the back of the cabinets, and polish the pine boards (the open shelving), and I know I’m forgetting some other unfinished bits. But what can I say? We have 3 kids, and jobs, and I found it really hard to bring myself to work on the kitchen cabinets in my free time! haha Now that Zoe is 15 and can babysit, my husband and I have been making up for lost time, going out for coffee dates on the weekends, and then we run errands after. It’s pretty great 😀 We’ve even been to a few movies, gasp!
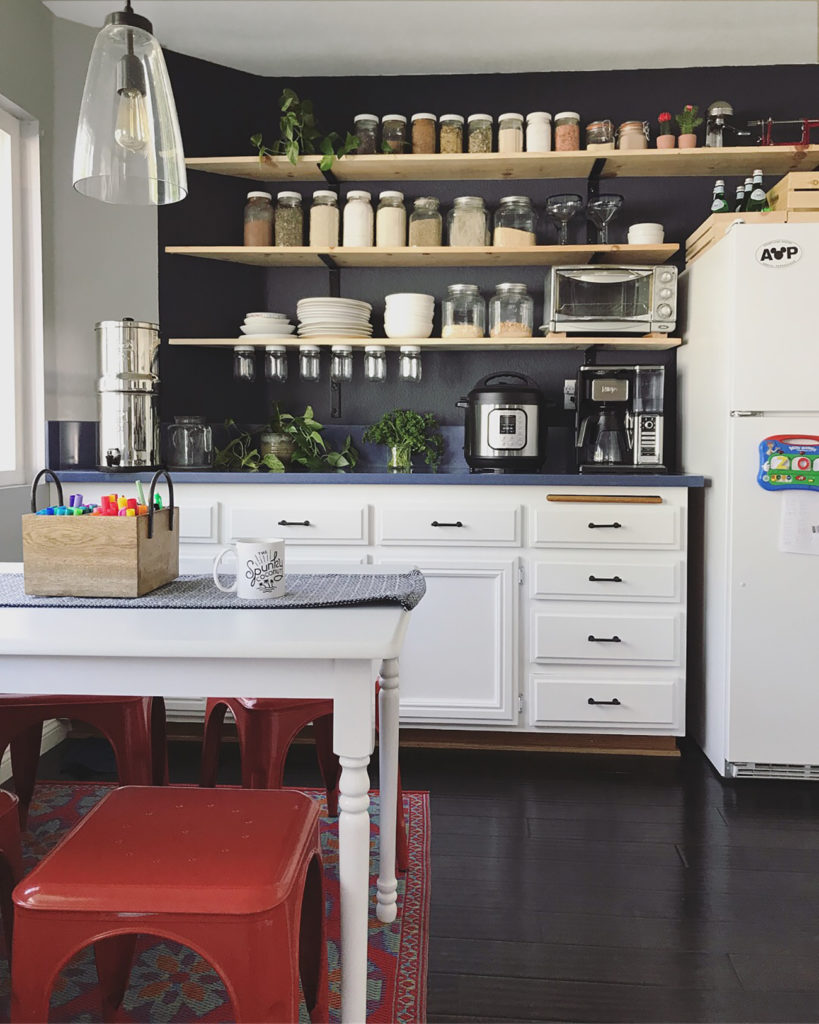
Spunky Mugs (also tops, onesies, hats, sweatshirts, and more) and our water purifier (Berkey).
My kids word builder (on the fridge) isn’t made anymore, but is available used for about $35.
I keep a list of rhyming words on a piece of paper (under the game), for Ginger to practice 🙂
She likes to add the words that I forgot, and make me proud 🙂
I had a big head-start on the kitchen renovation in one regard: I was already organized. As you know from my book, Easy Paleo Meals (where I have a chapter on organizing the kitchen), I switched to glass storage containers a few years ago. Not to be dramatic, but it really changed my life. I was so frustrated with all of the boxes and bags in my cabinets, ya know? I’d open a cabinet and try to find something in the sea of cardboard boxes and plastic bags, and it was so difficult to find anything in the mess.
Switching to glass storage containers (these are quart sized (32 oz), half-gallon sized (64 oz), and “cracker jar” sized) was like a breath of fresh air. You can see what’s inside and you know when you’re low on something. You don’t end up buying the same thing 4 times because you thought you were out of it, but really it was just hiding in the clutter. Bonus: it looks so pretty!
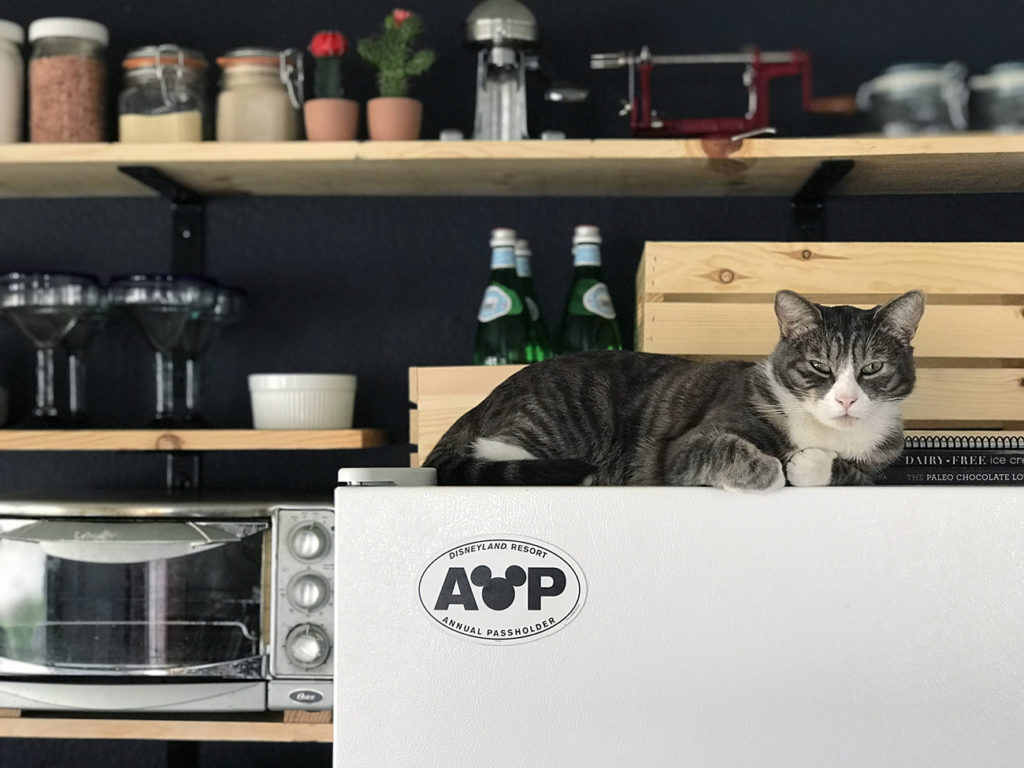
The mason jars hanging under the bottom shelf are drinking glasses. I attached them by drilling a hole in the plastic storage caps and screwing them into the pine. This way my cat doesn’t break them (he loves breaking mason jars!) and I love how cute they are hanging there!
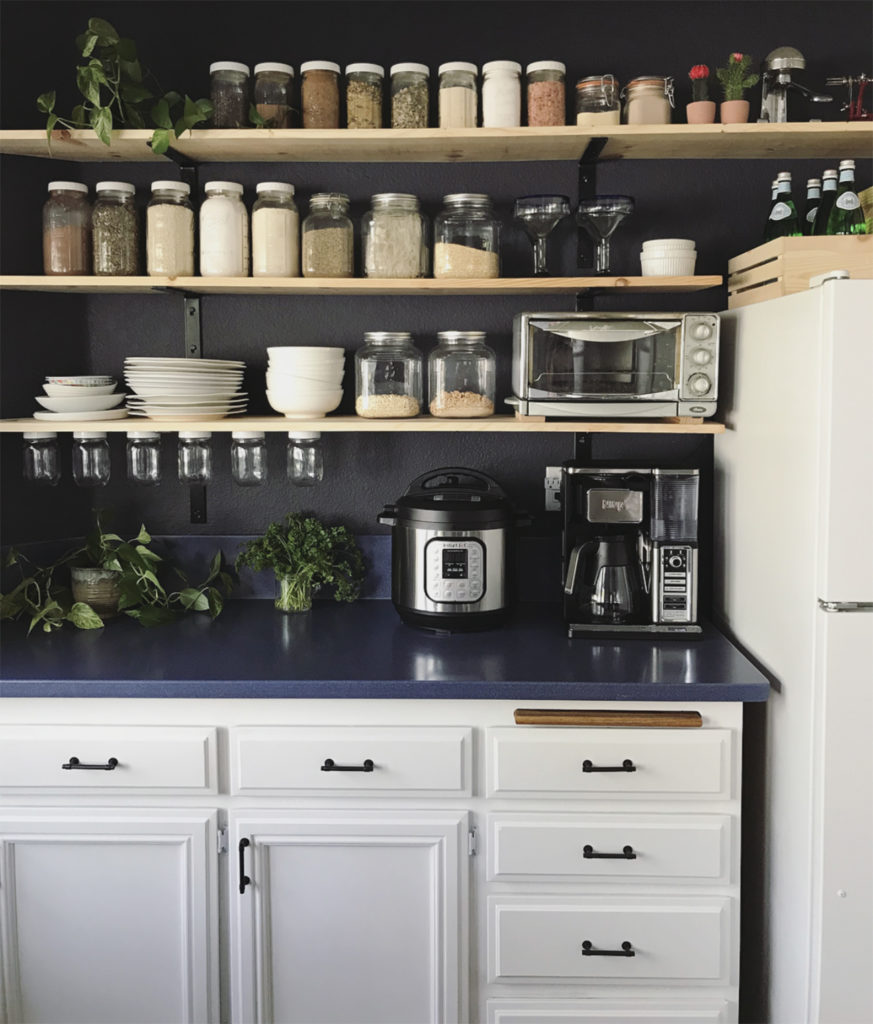
My ginormous Pressure Cooker/Slow Cooker and the BEST coffee/latte maker ever!
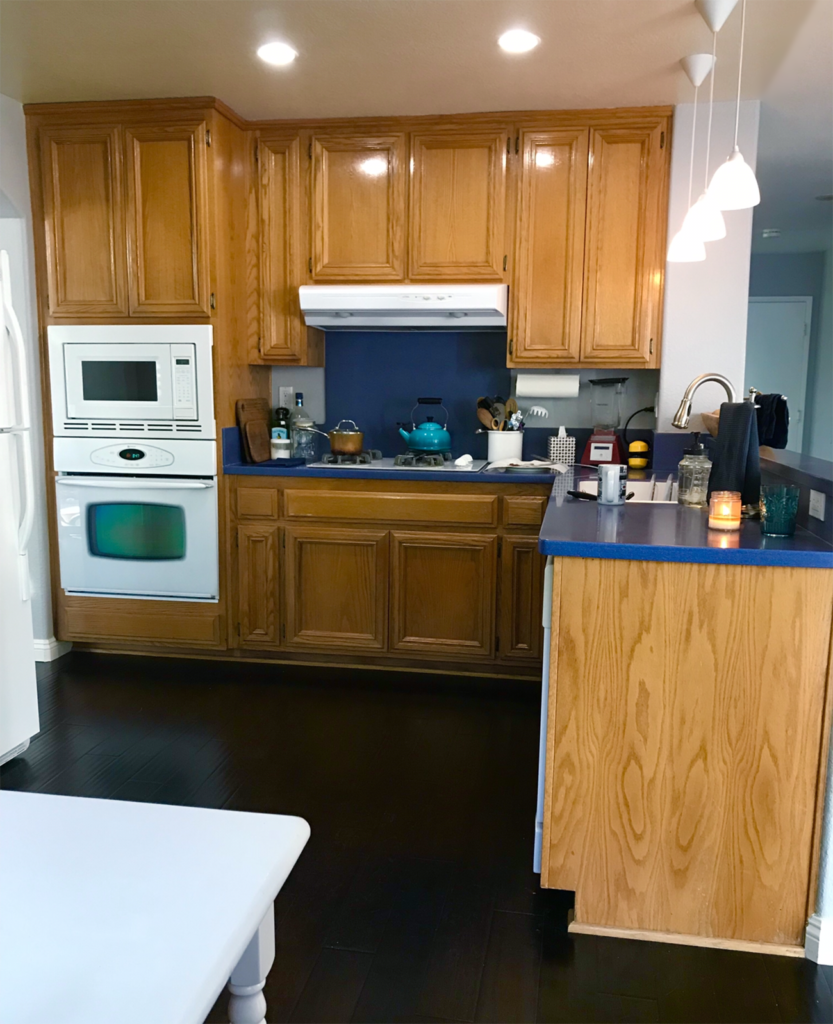
The story on the cabinets is this: We started by sanding (an unhealthy mess), priming, and painting with whatever paint they told us to use to paint cabinets at Home Depot. We did this to the lower cabinets on the opposite side of the kitchen. When we got to the painting part, we were really struggling to get it to go on smoothly. No matter how little paint we used it was like trying to apply glue all over the cabinets—thick, sticky, and runny. It looked like it was melting downward as it dried, leaving an ugly texture.
Then some of my readers who were watching our process on Instagram suggested that I use Annie Sloan chalk paint. That’s when I remembered that we know some people who used Annie Sloan chalk paint on their kitchen cabinets, and how much I loved the way it looked when we were over at their house. So I texted my friend and asked her if they were still happy with their chalk painted cabinets over a year later, and where to buy it. She said that they still loved it, and told me where to buy it locally.
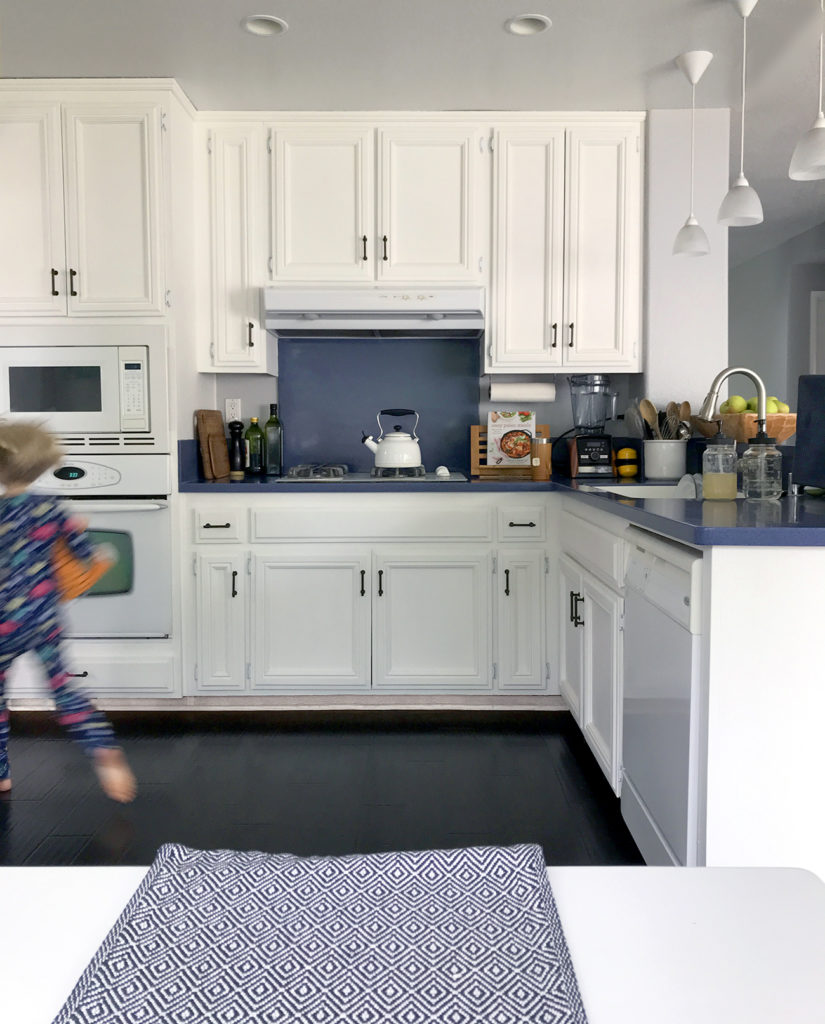
Compared to the goop that we were trying to use from Home Depot, the chalk paint was such a relief. It goes on so easily and hides the wood grain so well.
From then on we skipped the sanding all together. For the rest of the cabinets I de-greased thoroughly with Simple Green and a stiff scrub brush. Because my cabinets were so old and had never had handles or knobs, the stains were very persistent, so I primed them first, then did about 3 coats of chalk paint.
The thing about chalk paint is that it’s very dry, like chalk, so you have to seal it when you’re finished. We used Annie Sloan wax and the brush that they sell for getting in all the corners of the cabinet molding. For the flat areas I used really old cloth napkins that don’t have any lint. The wax smells terrible (so wear a respirator and see more below), but the smell goes away almost immediately after you finish using it.
Tips for Painting Cabinets with Chalk Paint
- Remove the doors and vigorously scrub the grease off with Simple Green and a stiff scrub brush. I used the laundry room sink to do this. Let them dry completely.
- Prime before using the chalk paint if necessary.*
- I found it best to hang the doors back up (I used clean new hinges) before beginning to chalk paint, because they were getting a lot of lint and cat hair that fell from the air by having them horizontal while painting. It’s up to you though 🙂
- Finish with wax while wearing a respirator and use ventilation.** Otherwise, I’ve been told that you can use polyurethane, but keep in mind that the end look may be different than if you use the Annie Sloan wax.***
- As the wax cures (this takes weeks) it feels harder and drier. Use handles to protect the cabinets and drawers. (I used THESE, and I love the way they look!) Clean chalk painted cabinets with soft cloth, soap, and water. I’ve had no trouble even after spilling red wine, bacon grease, and coffee on mine (not all at once 😉 ).
*How do you know if it’s necessary? You can do a test by skipping the primer on one or two cabinets. That’s what I did. After about an hour if there are stains coming through (like discolored spots), then you know you need to prime first.
**We are lucky in that we have an attic fan. It was a breeze (pun intended 😉 ) to open only the kitchen window and turn on the attic fan. This sucked all the air right up. I ran it the whole time I waxed. However you choose to finish your cabinets you should wear a respirator and use fans.
***Chalk painted and waxed cabinets have a velvety mat finish that’s lovely and hard to explain if you’ve never seen it. The downside I’ve heard is that you’re supposed to wax them every year. Not looking forward to that.
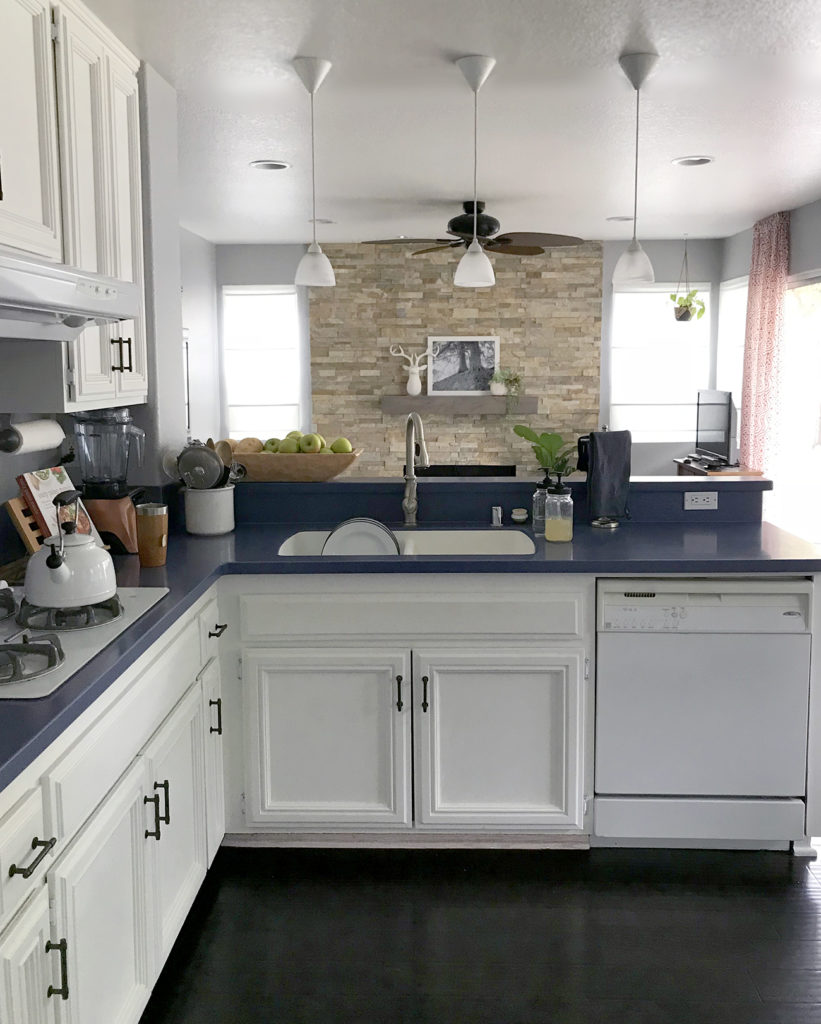
The mason jar soap dispensers are still my favorite thing ever!
Hope you enjoyed this post! See all my home posts HERE.
♥, Kelly


Shirley @ gluten free easily (gfe) says
Beautiful, Kelly! And it suits you so much better! While I’ve never used chalk paint myself, I know that so many love it. However, I have used paste wax and I’ve not found it hard to apply. I’ve also found that it’s not needed as often as others say it is. Hope the same holds true for you!
xo,
Shirley
SUZIE says
Thank you so much for posting this! It looks amazing. I’ve been trying to find a kitchen that has blue countertops (I really don’t want to replace/paint mine), white cabinets, open shelving and yours looks fantastic! It’s funny because I have been looking for ages and then stumble onto this from your pumpkin chili recipe ha!
Cathleen Pierce says
I absolutely adore your refinished kitchen! It looks fabulous!
Stacey says
Really looks great!!
I love the open shelving and all those jars 🙂
Allie Moss says
It looks beautiful! Well done.
LISA V. says
Hi! Love what you did to your kitchen. I have been thinking about doing my kitchen as well. The only thing not sure if I want to do it with a brush or sprayer. What size jars are those on the first and second shelf? The white lids I love. I never knew they sold anything like that. I use glass jars but with the canning lids and I find that it doesn’t keep things fresh. Have a blessed week!
The Gluten Free Guide to Everything says
I love seeing your new kitchen, it looks so much bigger and brighter! Also love the cat! Mine is always watching when I cook 😉
Marije | thegfguide.com